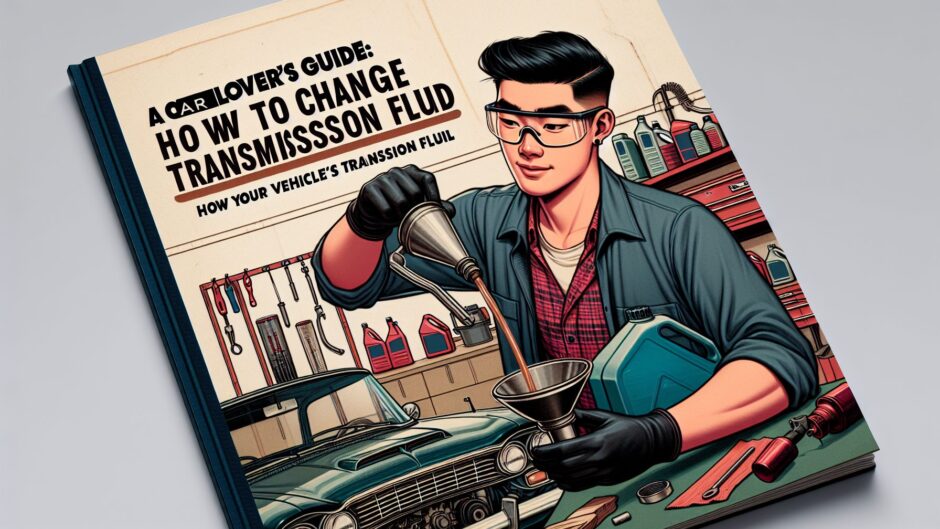
In the realm of vehicle maintenance, the transmission fluid is often overlooked. Many car collectors and enthusiasts turn a blind eye to it, but in reality, it plays a vital role in ensuring that your vehicle operates efficiently and smoothly. This article seeks to educate these passionate admirers of vehicles on how to change the transmission fluid.
Importance of Transmission Fluid
Before we dive into the process of changing the transmission fluid, let’s come to terms with its significance in your car’s overall functioning. Much like engine oil, the transmission fluid serves to lubricate the components of a vehicle’s transmission for optimal performance and prevention of overheating.
And just like your engine oil, over time, the transmission fluid degrades and loses its efficacy – hence the need for a change. Frequent maintenance of your vehicle ensures its longevity, and understanding how to do simple tasks like changing your transmission fluid is part of the process.
Identifying When to Replace Transmission Fluid
Spotting when to replace your transmission fluid can prove daunting for many vehicle owners. However, consulting your vehicle’s maintenance schedule in the owner’s manual is an advisable first step. The commonly accepted guideline is to change your transmission fluid after every 30,000 to 60,000 miles. However, this can vary depending on the make and model of your car, your driving habits and the driving environment.
The Process of Changing Transmission Fluid
Now let’s get to the crux of the matter – the actual replacement of the transmission fluid. Here is a step-by-step guide:
Gathering the essentials
You will need new transmission fluid, a wrench, a drain pan, an oil filter, and optionally, a jack stands and wheel chocks for safety purposes. Make sure you buy the correct fluid labelled for your specific vehicle model.
Warming Up
Before you drain the fluid, take the car for a short drive to warm up the fluid making it less viscous and easier to drain.
Safety first
On a flat surface, park your vehicle and apply the parking brake. If your car sits low, safely lift it using jack stands and secure it with wheel chocks to prevent movement.
Draining the fluid
Locate the transmission pan under your vehicle and place a drain pan beneath it. Unscrew the bolts (partially, not completely) at the corners of the transmission pan and let the old fluid drain.
Replacing the filter
Open up the pan and remove the old filter. Install a new filter in its place. Now, clean the pan thoroughly before reinstallation – you don’t want to mix fresh fluid with bunches of old gunky fluid.
Adding new fluid
Finally, attach the pan back onto the vehicle and tighten the bolts evenly. Then, locate the transmission fluid dipstick under the hood of your car, remove it and use a funnel to pour in the new fluid.
Be careful not to overfill it and ensure you use the right amount as specified in your owner’s manual. Once you have added the fluid, replace the dipstick, close the hood and start the car, shifting through all the gears before finally putting it back to park.
Conclusion
And there you have it, car lovers and collectors! Learning to change your vehicle’s transmission fluid is not as daunting as it might seem. It’s an essential skill that can save you time and money in the long run. As with any vehicle maintenance procedure, safety should always be your priority. We hope that this guide emboldens you to further explore the rewarding art of car maintenance. Keep learning, keep striving, and keep loving your cars!