Hey there, young drivers! Not long ago, you took the epic journey from the passenger’s seat to behind the wheel. You’ve aced your driver’s test, and now you experience the freedom of cruising the open roads in your precious vehicle. However, as Marvel’s Uncle Ben said, “with great power comes a great responsibility.” Part of driving responsibly means ensuring your car is in top condition.
While some car maintenance requires the expertise of a mechanic, others, like an oil change, can be a DIY project. Change your car’s oil? Yes, you! And not just for the sake of learning, but also to better appreciate the heartbeat of your friction machine.
A Glimpse into the Heart of Your Four-wheeler
Your car’s engine is like the heart of your car, and the oil is its lifeblood. Oil ensures that the engine’s various parts run smoothly without overheating. Over time though, this oil can get dirty and become less effective, which is why regular oil changes are crucial to keeping your car on the road.
Every time you drive your darling vehicle, you’re taking a journey that car collectors and classic car enthusiasts embark on with joy. These enthusiasts relish the opportunity to get under the hood of their priceless possessions, and they know that regular oil changes are key to maintaining their treasures.
Let’s Get Our Hands Dirty
So are you ready to channel your inner car collector and tackle this task? Great! And, no worries, we’ll guide you through every step:
-
You’re Going Shopping: Before you begin, make sure you have the correct motor oil, a new oil filter, an oil filter wrench, a socket set, an oil drain pan and some gloves. With these in your hands, you’ll feel less like a teen and more like a certified mechanic.
-
Jack It Up: With your car parked on a flat surface, use the jack to lift the front side of your vehicle. This will give you plenty of room to work.
-
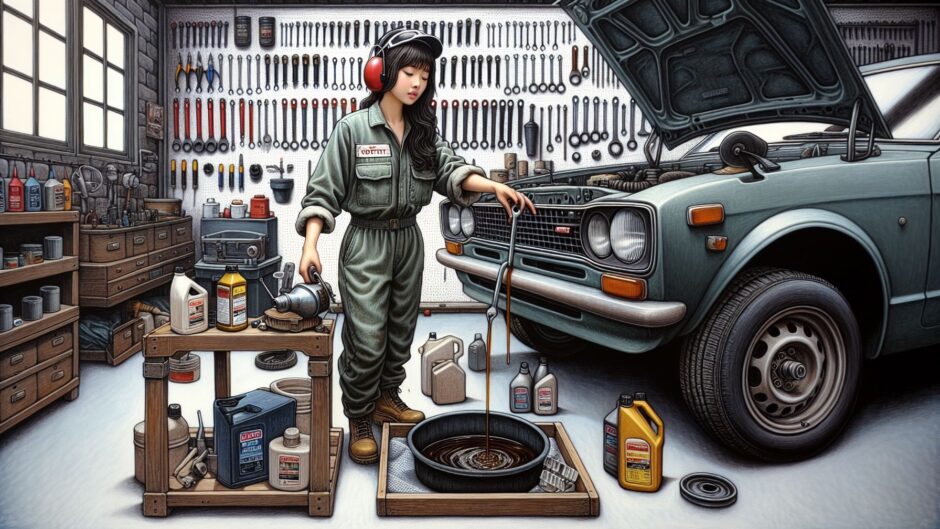
Drain Out the Old: Under your car, you’ll find a drain plug. Put on your gloves, use your socket set to unscrew it, let the old oil drain out into the pan. Remember, exposure to used engine oil can be harmful. So, ensure you are suited up in old clothes and sturdy gloves
-
Brand-New Filter: Before installing your new oil filter, it’s recommended to lubricate the new filter’s gasket with the new oil. It ensures a flawless seal for the filter.
-
Fill Her Up: With the new oil filter in place and the drain plug secured, you can now add the new oil. Most cars will require around 4-5 quarts, but it’s best to check your vehicle’s manual for precise quantities.
Job Done! Till Next Time…
There you go, you’ve just successfully changed your car’s oil; a perfect first step on your journey in DIY car maintenance. Remember, even if your hands are a bit greasy, you’ve just done something that every respected car collector and classic car owner proudly does to maintain their beloved vehicles.
Not only has this saved you a trip to the garage but also you’ve gained a better understanding of your vehicle, just like any car enthusiast would dream of. So, get behind the wheel, start the engine, and take a drive. You’re not just a regular teen anymore; you are shaping up to be a responsible driver, equipped with essential car-keeping skills.
And before you head off to your next destination, remember to dispose of your used motor oil properly. Take it down to your local auto parts store or recycling center. Doing minor car maintenance like this doesn’t just make you a car owner; it makes you a car caretaker. Now carry on, and drive safe!